

Block 12

Today we will be focusing on that row of house blocks. I think it's my own pattern, but I know I've seen similar blocks in the past, so I certainly can't take credit for the idea.
Cutting Instructions
Queen Sized:
Background: (12) 4.5"x4.5"
Prints (roof): (6) 4.5"x8.5"
Prints (walls): (12) 3.5"x4.5"
Prints (door): (6) 2.5"x4.5" (you can also cut (6) from one fabric, or cut these from different fabrics than the ones you used for the outside of the houses)


I chose to cut (1) roof, (2) walls and (1) door from each of my six fabrics and then put the red doors with the blue houses and vice versa. Note: If you are very careful, you can get all four pieces from one 4.5" strip cut from the 18" side of a FQ.
Baby Sized:
Background: (12) 2.5"x2.5"
Prints (roof): (6) 2.5"x4.5"
Prints (walls): (12) 2"x2.5"
Prints (door): (6) 1.5"x2.5"
OR
Background: (12) 2.5"x2.5"
Prints (house): (6) 4.5"x4.5"

Piecing Instructions
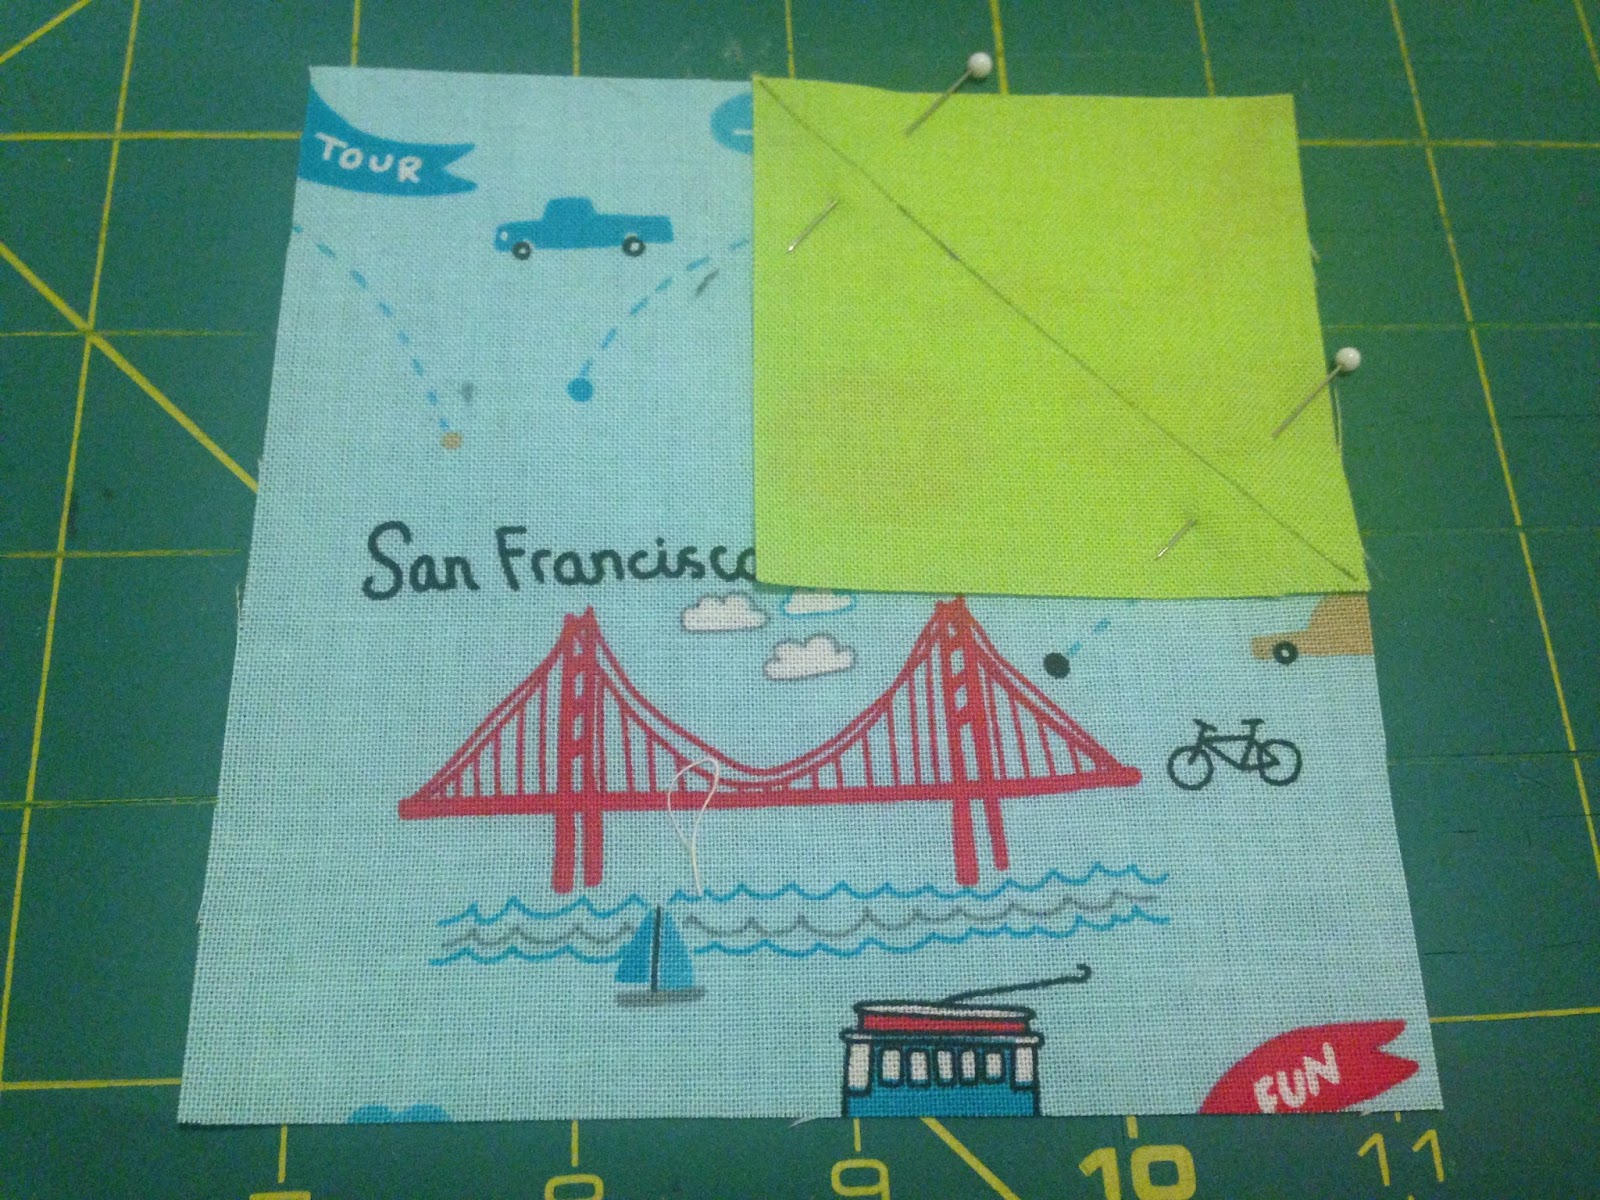
Make six flying geese blocks with the 4.5"x8.5" (2.5"x4.5") rectangles and the background squares (you are also welcome to make 4-in-1 flying geese or whatever other method you are comfortable with). Start by drawing lines down the diagonal of your background squares and add an additional line .5" to one side if you are planning on making bonus triangles. Pair one background square with each of the rectangles, line up the sides and corners, and pin. Make sure your bonus triangle line is towards the outside corner of the rectangle.

Sew a hair to the outside of the center line and then go back and sew along the line for the bonus triangle. Carefully trim the two pieces, 1/4" from the center seam. Press the block (I suggest pressing open, but that's up to you). Then repeat with the other side. Make sure your background square overlaps the background on the other side just a bit in the center top. Measure your blocks and trim as necessary, making sure to keep the center point 1/4" from the top of the block (easiest way to do this is to measure from the top seam and cut from the bottom and equally from both sides).
Now lay out your houses and sew one wall section to each side of the doors. I chose to pair my fabrics and just swap the doors.


Now add the coordinating flying goose to your wall-door-wall units. Pin, sew, and press.


You should have a 1/4" gap between the house wall and where the roof line starts. If you don't, you'll lose some points when sewing the units together.
Sew all six houses together into a long row. Here is my finished queen sized block:

For the baby quilt, I decided to go with the simplified version. Take your squares of print fabric and add background to each of the top corner, just like a flying goose. Remember to do one side at a time and cut and press in between.

Sew all six blocks into a row. Here is my finished baby quilt block:

Completed block sizes
Queen Sized: 8.5"x8.5" for each individual house, 48.5"x8.5" for the finished row.
Baby Quilt: 4.5"x4.5" for each individual house, 24.5"x4.5" for the finished row.
Several other options:
- Make wonky houses, as long as they finish at 8.5" (4.5") square.
- Add a chimney or a window.
- Do something fun with the "house" portion, like a wonky log cabin.
- Make different buildings, like a school house or a church to create a little village.
- Alternate houses with some tree blocks.
- Applique or piece your own house to add to the mix.

I've been waiting for this "house" block and I love the little quilt design you made up!
ReplyDeleteThanks, Linda. I'm having fun playing around in EQ7 with these blocks. :)
Delete