

Stats
Name: Modified Bento Box Lap Quilt
Dimensions: Around 68" x 68"
Pieces: Front - 425, Back - 17
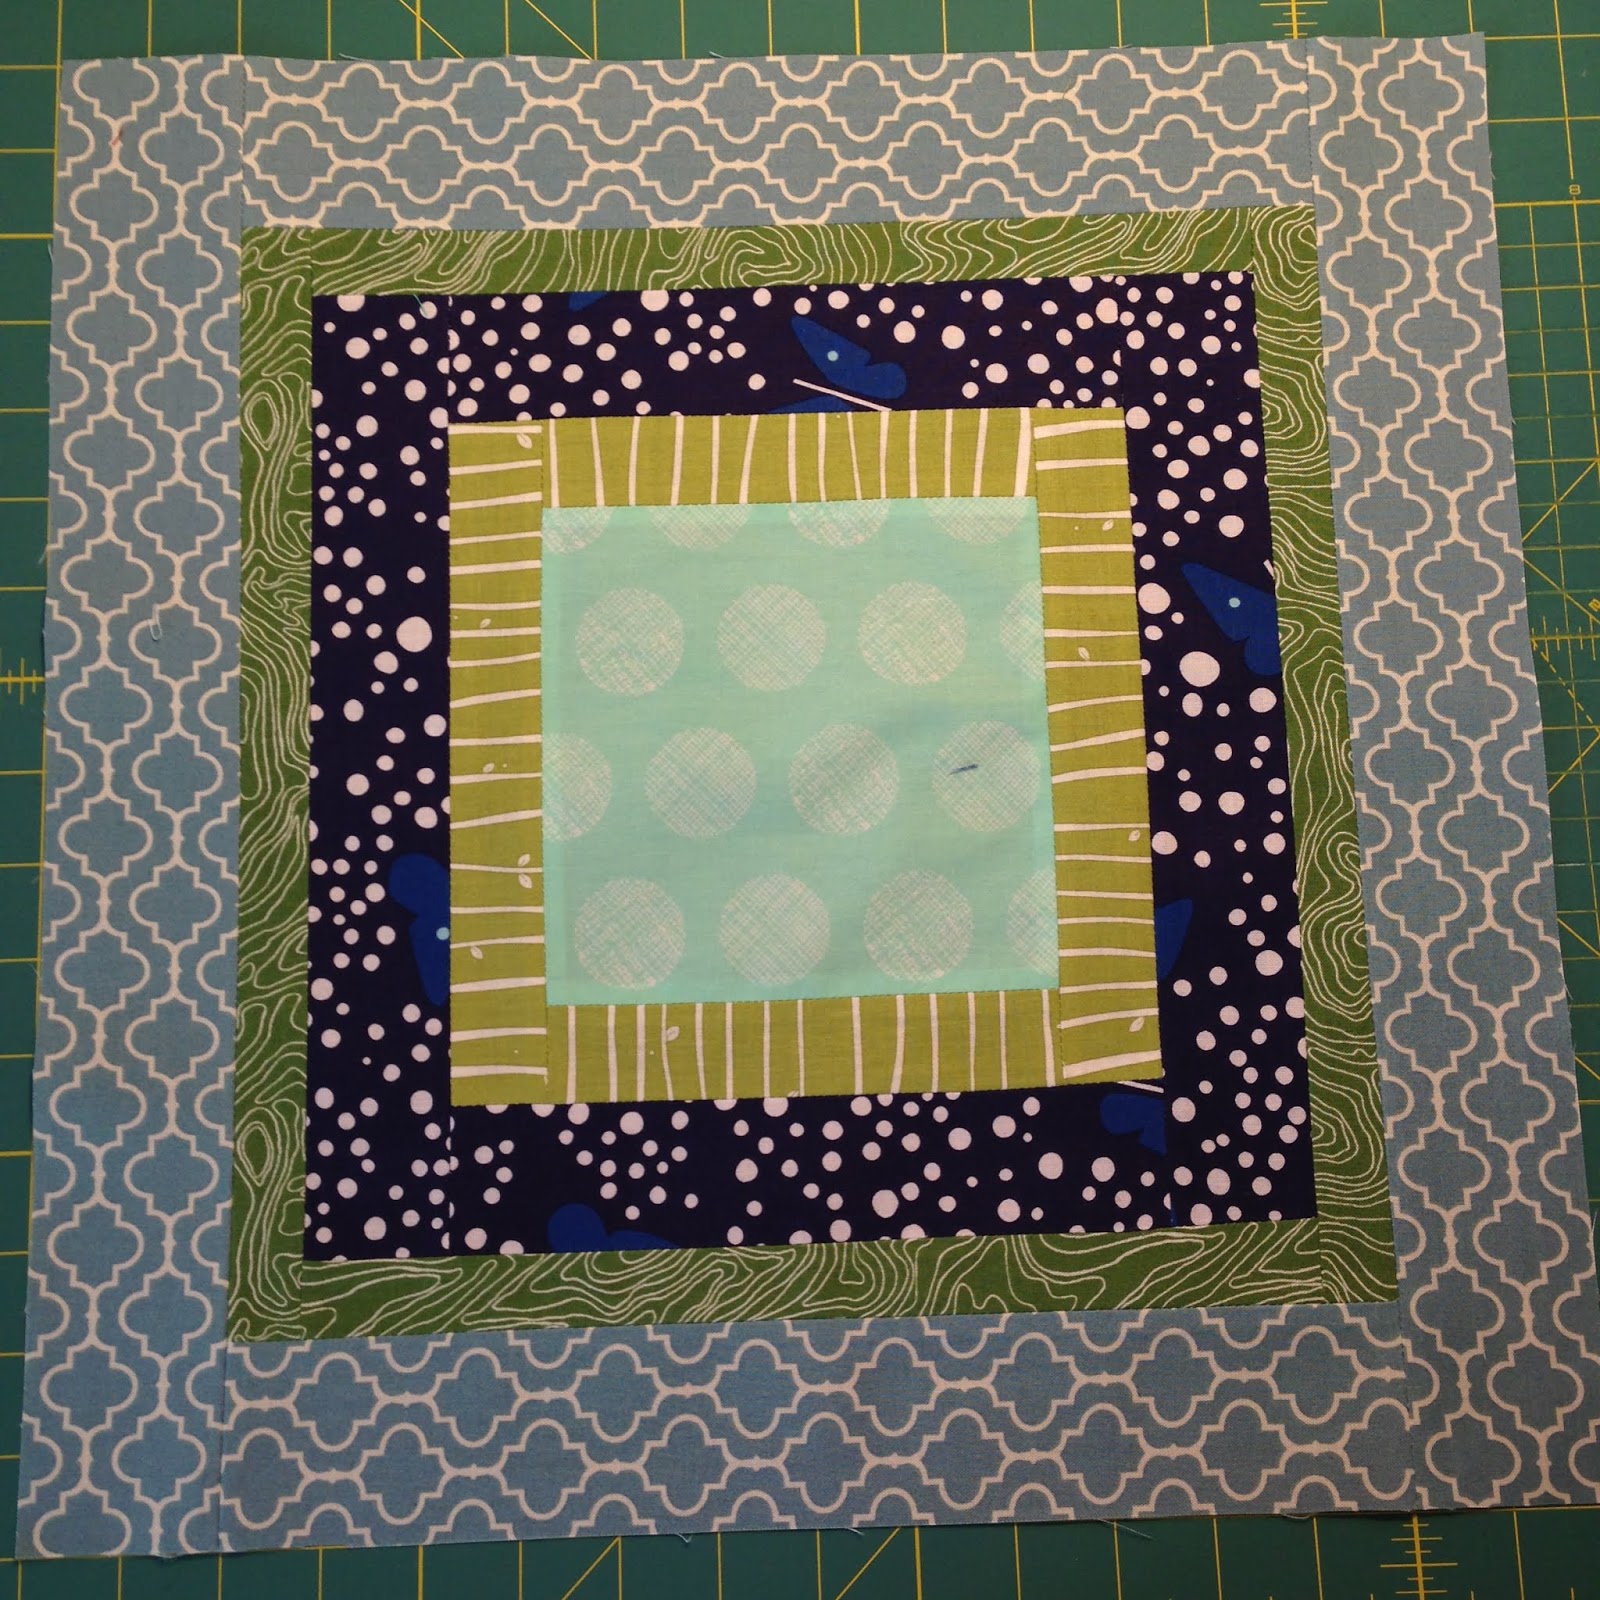
Pattern: Modified Bento Box by Film in the Fridge (http://filminthefridge.com/2009/06/24/quartered-squares-a-modified-bento-box-block-tutorial)
Technique: Patchwork
Materials: 100% quilting cottons
Quilting: Free motion on my Juki and my sister's Singer
So my mom told me she wanted a quilt (a while ago). Said she didn't care when she got it, but she wanted one. As I was at least willing to entertain the notion, I asked her what colors: blue and green. I even sat down and showed her some pictures of fabrics in my stash and we came to the conclusion that she didn't want any fabrics with people, animals, or buildings on them. Primarily geometric with some butterflies and seashells mixed in. I had been wanting to give Film in the Fridge's Modified Bento Box tutorial a try for some time, ever since I had to make a block for someone in a bee, and decided that this might be the perfect opportunity. I was participating in the Stash Bee at the time (2014), so I wrote up a block tutorial based on Film in the Fridge's original. I don't remember, but I feel like I also asked for the same block from another bee, but it's been a while and I honestly don't remember.

Then the blocks sat and sat and sat, because I knew I wanted the quilt to be a decent size and I was missing a few blocks. Plus I had other quilts I wanted to get done. But I finally got my butt in gear, figured out how many blocks I still needed, did a quick fabric pull, and then chain pieced those suckers. The blocks are supposed to finish at 16" square, and I had deliberately asked people to leave them at whatever size they finished, so I could make decisions on final size later. Since some of the bee blocks turned out a bit crooked, when I cut them into quarters, I ended up with some warped edges. Which is why I decided to cut down the center as well, so I'd have consistent center sizes and at least one matching seam per block. Thank goodness for a sewing day with a fellow quilter, or that process may have gotten overwhelming. I believe I ended up somewhere in the range of a 14" block or so, after cutting down and reassembling.

The only thing I really cared about was that the same fabric didn't end up next to each other, which wasn't a huge problem, because only a few of the blocks were made by the same people and had the same fabrics repeated. And then it took a while for me to arrange the blocks on my design wall to my satisfaction so the quarters weren't too close to each other. I did the arranging and sewed the top together during one of the trips my husband took with our son, when I was home alone and didn't have to worry about the little monster angel pulling blocks off my design wall. Then the quilt sat again, because I didn't have a back for it.

Enter one of our quilting retreats for the DC Modern Quilt Guild. I brought the fabrics I had bought, scaled up the modified bento box pattern to 70" squared and pieced the back (I'm rather proud of that one, tyvm). It took some piecing of strips, because I didn't have long enough lengths, and also some piecing due to cutting mistakes, but I really like the final result. I think I basted it at the retreat as well, but I don't remember, and maybe even started quilting it with the box free motion quilting pattern that I really enjoy. Then it sat again. And sat. I was trying to focus on my commission quilts, but they were just giving me quilters block. So on one of our trips to Michigan in 2017, I decided to bring this quilt with, plus the binding fabric, and see if I could finish it.

What I didn't bring... my beautiful Juki work horse. I figured I'd be able to use my mom's (old, solid) Singer or Pfaff, but neither had a free motion quilting foot. So I ended up borrowing my sister's small (cheap, plastic) Singer. It got the job done, but boy what a difference in quality of stitching and shakiness of the box sides. I also got the binding made and attached, though I forgot to embroider my initials and the date, because I figured I would see it again at some point. I got it done the day before or the day we were supposed to drive back home to Maryland, so ended up doing a quick photo shoot with my mom and my hubby of the final quilt. I'm quite happy with how it turned out. And recently it finally saw some use, after sitting folded at the end of my parents' bed, when I used it to cover up my sick son (which also meant it's first wash afterwards, which left it nicely crinkled). I think I like it so much because blue and green is my favorite color combo as well, and what I chose for my son's room. So I'm seeing another blue and green quilt in my future for his big boy bed at some point.


