

Block 6

This is the first of the theme blocks. I'll be showing you how to make a pineapple block (farmer stand) and a ship block (travel).
A note about the theme blocks: We will be making one easy patchwork (squares, rectangles, and HSTs), one hard patchwork (with HRTs), one hard paper pieced, and one applique block with the theme. There are many opportunities to insert fussy cuts into the quilt as well for your theme, which I have and will continue to point out. You can either look for a 4x7 patch block or substitute a 4x4 patch block (8x8, 2x2 will work as well) and make the alternate chevron block. Also, if you've found an interesting 4x7 or 4x4 patch block that incorporates HRTs and want to make a 3x3 patch block now with easy patchwork that would work too. For the queen sized quilt, you can also find a 12.5" block pattern, make two, stack them on top of each other and add a 2.5" border, or make (3) 8.5"x16.5" blocks (2x4 layout) and add 2.5"x16.5" strips in between the blocks. If you need help figuring out if a pattern will work in the quilt, or need help with the quilty math, contact me on IG with a picture of the block (@DamascSt) or email me at DamascSt@gmail.com. You can also leave a comment here (make sure you leave your email address if you suspect you may be a no-reply blogger).
Cutting Instructions:
Block 6:
Queen Sized
Background - (4) 5"x5"
Background - (2) 4.5"x4.5"
Color 1 - (4) 5"x5" (Green for me, I used three different prints, with 2 squares from one and 1 square each from the other two)
Color 2 - (2) 5"x5" (Yellow for me, again, used three prints)
Color 2 - (16) 4.5"x4.5"

Baby Quilt
Background - (4) 3"x3"
Background - (2) 2.5"x2.5"
Color 1 - (4) 3"x3"
Color 2 - (2) 3"x3"
Color 2 - (16) 2.5"x2.5"
Piecing
Block 6:
Draw a line down on the diagonal of the background 5'x5" (3"x3") squares and one of the Color 1 5"x5" (3"x3") squares. I made the mistake of using my rotary cutter instead of a pen on the first background square, so decided to cut my losses and cut apart all but one of my Color 1 squares. That way I was able to pair one background square with one of the prints that I cut two squares from, and then pair a background triangle with one of each of the other prints, and pair the second of the prints that I cut two squares from with the other halves of those prints. The other background pieces should get paired with the 5"x5" (3"x3") squares from Color 2. (The green prints in the picture below are turned up to show which fabrics I paired together, I turned them right side to right side before pinning).

If you would like to do the same, make sure you pin really well with the triangles and sew without trying to pull or feed the fabric through. Sew 1/4" from the edge or from the center lines.

Carefully cut along the diagonal between the two seams and press the seams open.

Trim the HSTs to 4.5" (2.5").

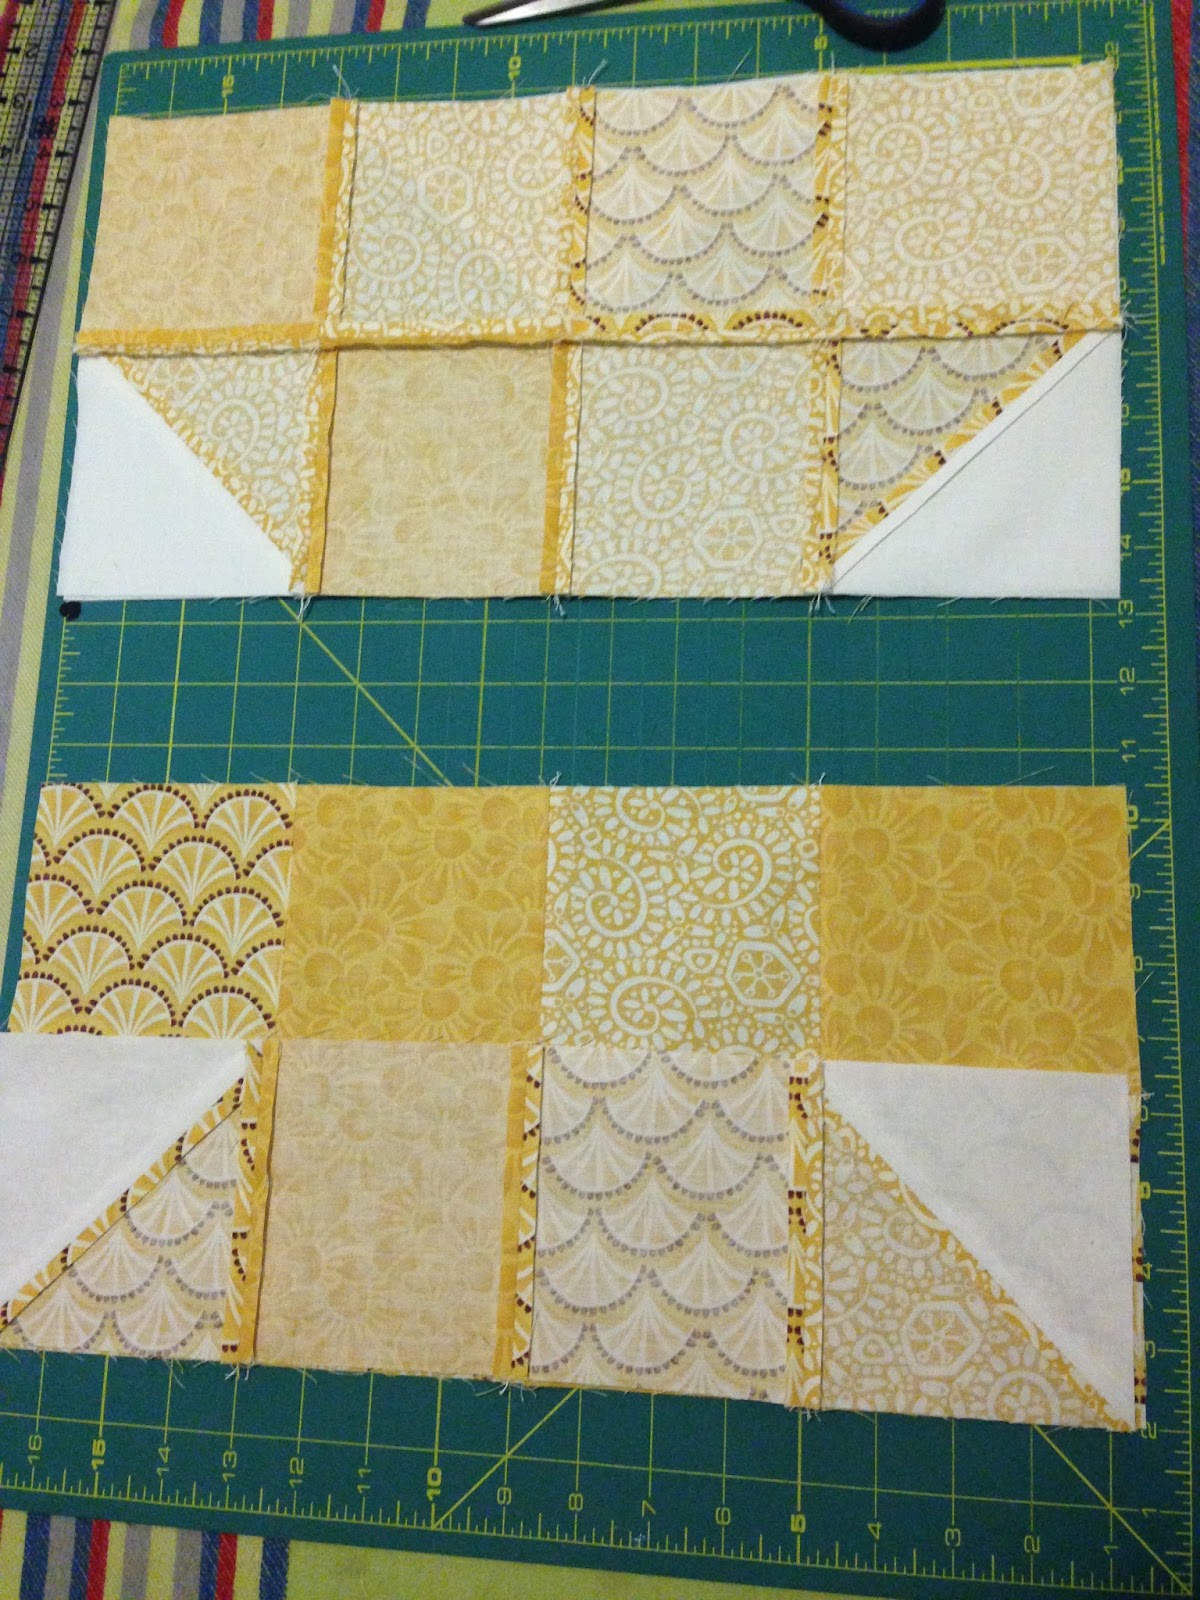
Now lay out the block in its entirety. It hung over the side of my table a bit (the queen sized version is big). As you can see, the way I cut and sewed my green HSTs let me arrange them so the pineapple has "leaves" of each print.

Flip the squares from the first and third columns onto the squares from the second and fourth columns. You can use the chain piecing method here that keeps the threads connected. Just cut apart the thread where the squares from the first column end and the next ones start. Pin and sew.

Press the blocks then lay them out again. Next, flip the blocks from the first column onto the matching set of squares. Pin, sew, and press.

Lay the block out again. If you still have connected threads, clip them between rows, or sew the rows together one at a time. Otherwise, flip rows 1, 3 and 5 onto the ones below. Pin, sew and press.

Flip the second and fourth rows up, pin, sew and press.
Finally pin the two sections together, sew and press. You are done with your pineapple block.

Completed Block Size:
Queen Sized: 16.5"x28.5"
Baby Quilt: 8.5"x14.5"
To make the ship block:
Cutting Instructions:
Queen Sized
Background - (3) 5"x5"
Background - (2) 4.5"x8.5"
Print 1 (Water) - (1) 4.5"x16.5"
Print 2 (Boat) - (1) 5"x5"
Print 2 (Boat) - (1) 4.5"x8.5"
Print 3 (Sails) - (2) 5"x5"
Baby Quilt
Background - (3) 3"x3"
Background - (2) 2.5"x4.5"
Print 1 (Water) - (1) 2.5"x8.5"
Print 2 (Boat) - (1) 3"x3"
Print 2 (Boat) - (1) 2.5"x4.5"
Print 3 (Sails) - (2) 3"x3"

Piecing
Pair each 5"x5" (3"x3") background square with one of the other 5"x5" (3"x3") squares. Draw a line down the diagonal and sew 1/4" from the center line on both sides. Carefully cut them apart along the line between the seams and press open. Trim to 4.5"x4.5" (2.5"x2.5").

Lay out your block and sew as follows:

Pair the left sail squares the right sail squares, sew the sails into a 4 patch. Sew the rectangular background pieces on each side of the sails. Sew the left and right sides of the boat onto the rectangular boat piece. Add the water piece to the boat piece. Sew the boat/water piece onto the sail piece.
And here is the finished block:

Completed Block Size:
Queen Sized: 16.5"x16.5"
Baby Quilt: 8.5"x8.5"
You will need to add the 12.5"x16.5" (6.5"x8.5") chevron block to this to fill the same space as the pineapple block.
Several other options:
- Birds: Find an easy 12" block now and do a 4x7 owl block later (I have an owl pattern and a thought for the 12" block, if you're interested - email me). Alternatively, make the turkey block above now, and find a bird block with HRTs/QSTs later.
- Butterflies/Bugs: Make this as the 16" block using either HSTs for the lower half or a 3/4 snowball now and a version of this for the 12" block later, or vice versa.
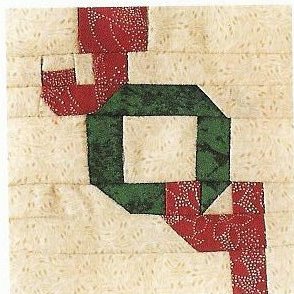
- Christmas: Make an easy 12" block now - perhaps this JOY block, make this wreath block later using QSTs, but with 4.5" (2.5") squares. Here are some other options.
- Google quilt blocks for your theme and you're bound to come up with a couple options. The best idea is to find both the easy and the hard blocks and then determine which one should go in which spot.
No comments:
Post a Comment